|
Micro Monitor Assembly
|
|
Page 2
|
| |
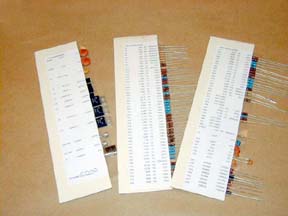
Double
check the sort cards label with the part associated with it and the assembly
manual.
|
|
|
|
|
|
|
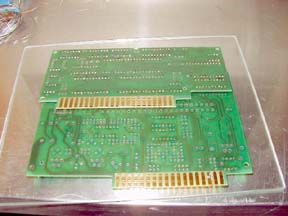
You will need a piece of glass
for the first step in the process. I purchased this
6 x 8" piece of double weight glass from
a local glass store for $1.
Wash your hands before starting
to remove any body oils.
Review the section on making
a good solder joint. It helps a lot if you didn't know how to before now.
For old hands
it is a good refresher.
|
|
|
|
|
|
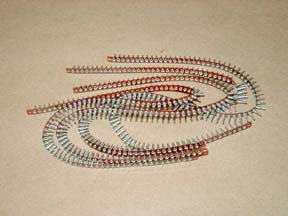
Get out the four strips of
machined socket pins. You will have to cut them into:
8
strips of 4 pins
12 strips of 7 pins
2 strips of 9 pins
4 strips of 10 pins
4 strips of 12 pins
2 strips of 14 pins
2 strips of 20 pins
Place them in the appropriate
holes on the two PC cards.
|
|
|
|
|
|
The tools needed for this
project include a good soldering iron with a 1/16" screwdriver
tip. I used a Weller
WP-25 with a ST-6 tip. A cellulose sponge for cleaning the tip. A small
pair of needle nose pliers and flush cut diagonal cutters. A pen for marking
off each step
as it is completed. A good light and a magnifying glass to inspect your
solder joints.
|
| |
|
|
|
|
|

